Using ApplyCompanyPolicy.Template to build your own package
This section briefly explains what you need to do in order to customize the rule-set and publish your own package (to your companies internal NuGet feed for example).
The simple way (customizing the rule-sets)
These steps have been verified to work with Visual Studio 2015 Update 1, Resharper 9.2, https://github.com/Visual-Stylecop/Visual-StyleCop in versin 4.7.58.3 + Standalone installer 4.7.49.0 (for editing .StyleCop files), NuBuild 1.12 (Standalone msi installer)
Clone the project.
git clone https://github.com/AITGmbH/ApplyCompanyPolicy.Template.gitOpen Visual Studio by navigating into the 'src' directory and opening 'ApplyCompanyPolicy.sln' (we use 'src/ApplyCompanyPolicy.sln' from now on).
Rename the package to match your company.
Open 'src/ApplyCompanyPolicy/ApplyCompanyPolicy.nuspec' and edit it to your needs. At least you want to change the
<id>and<title>fields:<id>MyCompanyPolicy</id> <title>MyCompanyPolicy</title>You are now basically good to go. Just Right-Click the 'ApplyCompanyPolicy' and select 'Build'.
WARNING
You need to rename the MsBuild scripts as well. The default script is empty so it doesn't matter but remember it right away before you forget it (see 3.b)
You can find the finished package in 'release/nuget/MyCompanyPolicy.
.nupkg'. Upload it to your favorite NuGet Feed and you can use it in your next C#/.Net project immediately. Of course this was only a simple name change and you might want to customize the package (because otherwise you could have used the default AIT package from the official NuGet Feed).
Edit your rule-set files. Any of these steps is optional and you might as well go with the default rule-set.
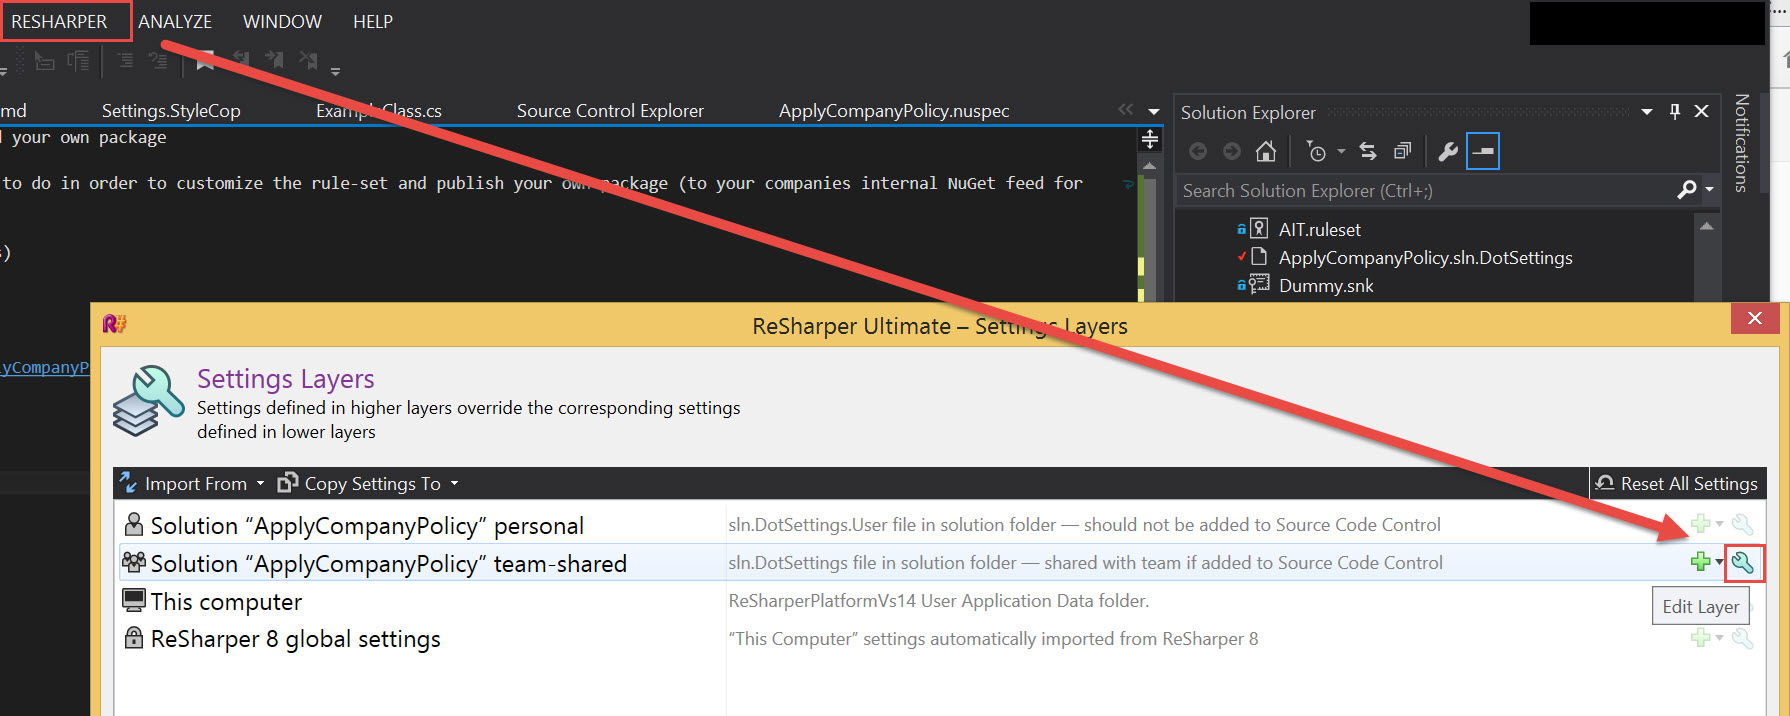
Visual Studio -> Resharper -> Manage Options -> Solution Team Shared -> Edit Layer
Add MsBuild-Targets via 'src/ApplyCompanyPolicy/build/AIT.ApplyCompany.targets'. (Or in VisualStudio in the 'ApplyCompanyPolicy' Project -> 'build' -> 'AIT.ApplyCompanyPolicy.targets'). WARNING this file needs to use the same name as the final NuGet package, therefore you need to rename it to match new name given in step 2. See https://docs.nuget.org/create/creating-and-publishing-a-package#import-msbuild-targets-and-props-files-into-project for details.
Edit the StyleCop file by installing StyleCop to your machine and opening 'src/Settings.StyleCop'. See https://stylecop.codeplex.com/wikipage?title=Managing%20StyleCop%20Project%20Settings. NOTE that opening 'Source Analysis Settings' doesn't work from within latest Visual Studio (2015), but double clicking the file works.
Code Analysis: Open the '.Settings/AIT.ruleset' file from within Visual Studio and edit the rules. Open '.Settings/AIT.CodeAnalysisDictionary.xml' to insert acronyms used in your source code.
Remove unwanted settings.
Just open the 'nuspec' from step 2 and remove all entries in
<files>you no longer want to distribute. Here is a list:<file src="tools\**.ps1" target="tools"/>: Infrastructure, leave as-is. This is the basic script which installs the package.<file src="build\**" target="build"/>: The custom MsBuild Properties (.props) and Targets (.targets)<file src="CompanyPolicy\CompanyPolicy.config" target="CompanyPolicy"/>: Infrastructure, leave as-is<file src="..\*.ruleset" target="CompanyPolicy\StaticCodeAnalysis"/>: Code-Analysis configuration.<file src="..\*.snk" target="CompanyPolicy\Signing"/>: Key file for signing code.<file src="..\*.CodeAnalysisDictionary.xml" target="CompanyPolicy\CodeAnalysisDictionary"/>: Dictionary for Code-Analysis.<file src="..\*.StyleCop" target="CompanyPolicy\StyleCop"/>: Configuration for StypeCop.<file src="..\ApplyCompanyPolicy.sln.DotSettings" target="CompanyPolicy\Resharper\AIT.DotSettings"/>: Resharper settings file. Note that this 'AIT' is invisible because it will be replaced by the package-name by the install script.
Verify compatibility with the example project.
You can now verify that your rules between the different projects are compatible by using the PolicyExampleUsage project. Just build the example project and see if you get any errors. Depending on the rules you changed you might want to test if the R# Code-Cleanup rules are compatible with all your settings:
- Open
ExampleClass.csand do a full code cleanup. Compile the project and look for errors.
If you can't make the PolicyExampleUsage project compile without errors and warnings (after making the changes your policy suggests) your rules are probably incompatible between the different tools and you probably shouldn't roll-out the policy or disable some rules.
- Open
Release.
Just build the project and release the NuGet package (see step 2).
Advanced topics (customizing the scripts or using a build server)
Building the project in a build server
As it is hard to install dependencies on a build server (or a infrastructural problem that can take a while to solve) we provide a powerful build system as part of this package to build the Policy Package without the need to install for example 'NuBuild' on your build server.
Just setup your build server to call
build.cmd
to build the package. Your build server needs access to the Internet though to resolve the dependencies (for the build system itself).
This will make sure that the package is built and verified (see point 5 from above) and the NuGet package is available in 'release/nuget/' as it is when using NuBuild from within Visual Studio.
Editing the install scripts
You can customize the installation behavior by editing 'src/ApplyCompanyPolicy/tools/Install.ps1' and 'src/ApplyCompanyPolicy/tools/Uninstall.ps1'.
Use the documentation
You can disable the documentation generation by changing the line BuildDocumentation = true to BuildDocumentation = false in buildConfig.fsx.
You can edit and use the documentation generation (which is part of the repository and executed with build.cmd) and use it for your own policy package. If you want this please open an issue and ask for it.
This section will be extended on-demand.
To help yourself we are using the FSharp.Formatting package to create html by using markup files.
You can edit generateDocs.fsx to fit your needs.
We are using FAKE as build system.
